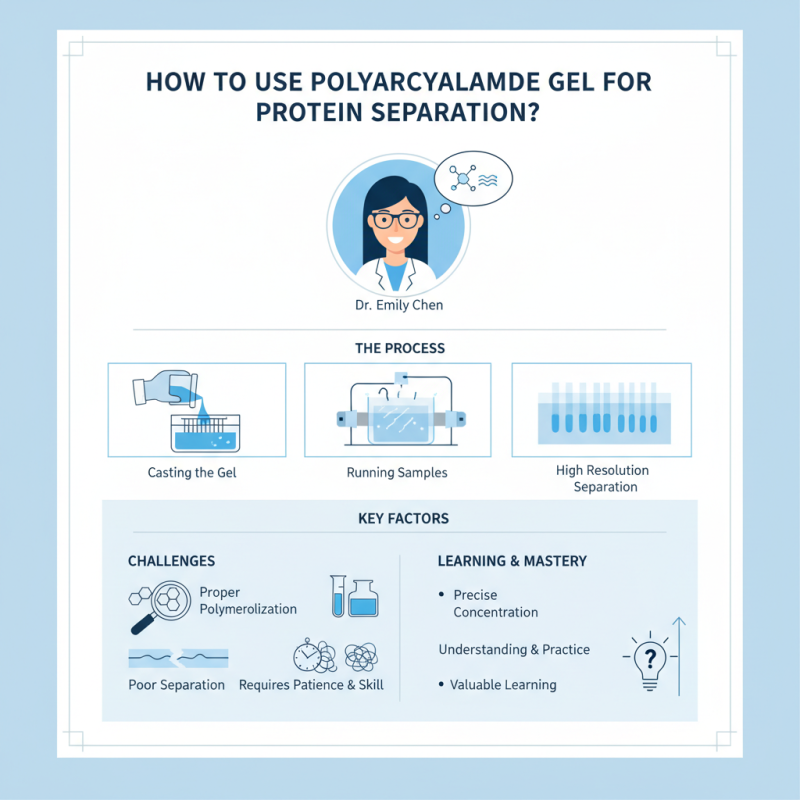
How to Use Polyacrylamide Gel for Protein Separation?
Polyacrylamide Gel has become a vital tool in protein separation. Dr. Emily Chen, a leading expert in biochemistry, once stated, "The clarity of results with Polyacrylamide Gel is unmatched." This emphasizes the significance of using this gel in laboratory settings.
The process involves casting the gel and running samples through it under an electric field. It is crucial to ensure proper polymerization for optimal results. Polyacrylamide Gel provides high resolution and allows for precise separation of proteins based on their size. Every lab must handle this material carefully.
However, challenges can arise. Issues like improper gel concentration can lead to poor separation. Furthermore, the gel's preparation requires patience and skill. It’s essential to acknowledge that while Polyacrylamide Gel is effective, using it demands thorough understanding and practice. Mistakes can happen, but they often lead to valuable learning experiences.
Understanding Polyacrylamide Gel and Its Properties
Polyacrylamide gel is widely used in protein separation. Its unique properties make it suitable for this purpose. This gel is formed by polymerizing acrylamide and bis-acrylamide. The resulting structure creates a mesh-like network. This network allows for the separation of proteins based on size. Smaller proteins move faster through the gel than larger ones.
One must consider the gel concentration. A higher concentration is suitable for smaller proteins. Conversely, a lower concentration helps separate larger proteins. However, determining the right concentration can be tricky. Too high a concentration may hinder the resolution. On the other hand, too low might lead to smearing. Frequently, researchers need to adjust and retest.
Temperature can also affect the gel's performance. If the gel is too warm, the proteins may diffuse. This can lead to less distinct bands. Another detail to note is the running buffer composition. Using the wrong buffer can dramatically influence results. Observing these factors is crucial for successful separation. Sometimes, unexpected outcomes arise. It reminds us that consistent practice and adjustments are essential in this process.
How to Use Polyacrylamide Gel for Protein Separation?
| Property |
Description |
| Polyacrylamide Concentration |
Typically ranges from 5% to 20%, affecting the gel's pore size and resolving power. |
| Buffer System |
Commonly used buffers include Tris-Glycine and MOPS for optimal pH and ionic strength. |
| Sample Preparation |
Samples often need to be denatured, typically with SDS, to ensure proper separation. |
| Run Time |
Typically ranges from 30 minutes to several hours, depending on gel composition and voltage. |
| Staining Method |
Common staining methods include Coomassie Brilliant Blue and silver staining for protein visualization. |
| Applications |
Used in assessing protein purity, determining molecular weight, and analyzing protein interactions. |
Preparation of Polyacrylamide Gel for Protein Separation
Preparing polyacrylamide gel for protein separation is a critical step in biotechnology and research labs. The process starts with mixing acrylamide and bis-acrylamide in a specified ratio. Typically, a 30% solution of acrylamide is used. This concentration provides optimal resolution for most proteins.
When preparing the gel, ensure that all glassware is clean. Contamination can lead to poor separation results. The recommended gel percentage often ranges from 5% to 15%, depending on the protein size. For instance, smaller proteins require higher percentage gels, whereas larger proteins do better in lower percentage gels.
Tips: Remember to use a fresh solution. Old acrylamide can adversely affect gel quality. Use a UV light to check for polymerization before loading samples. Proper handling during casting is essential to avoid bubbles. Bubble formation can disrupt the migration path of your proteins.
It’s important to note that gel preparation is a balancing act. If the concentrations are not right, results may vary significantly. Regular practice will help refine your technique. Experiment with different ratios to understand how they affect your protein separation. Document every attempt; it could provide insights for future experiments.
Loading Samples onto the Gel for Effective Separation
When loading samples onto a polyacrylamide gel, precision is vital for effective protein separation. The gel concentration must match the molecular weight of the proteins being analyzed.
For instance, lower concentrations are suitable for larger proteins, while higher concentrations are better for smaller ones. The standard practice involves using a 10-15% gel for many proteins.
Tips: Always prepare samples in loading buffer. This buffer adds density and helps visualize the proteins during migration.
Careful sample loading can significantly impact results. Uneven loading can lead to distorted bands. Aim for a consistent volume and concentration across samples. It’s also important to avoid overloading the wells, as this can cause bands to smear.
Data suggests that bands appearing crisp and well-resolved improve reproducibility. In contrast, smeared bands can obscure important information and complicate analyses.
Tips: Use a micropipette for accuracy. Practice good technique to minimize errors.
Monitoring the current during electrophoresis is crucial. High voltages can lead to overheating and poor separation. Keeping the gel tank at a stable temperature preserves resolution. Temperature fluctuations could affect protein migration rates, leading to unreliable results. Always consider the gel running time; overextending can diminish the quality too.
Running the Gel: Electrophoresis Basics and Parameters
Running a polyacrylamide gel for protein separation involves understanding basic electrophoresis principles. This process is crucial for analyzing proteins in laboratory settings. When setting up the gel, ensure you have the right concentration. The gel’s density impacts the resolution of protein bands. A higher concentration can separate smaller proteins more effectively.
Electrophoresis relies on an electric field. When the current runs through the gel, proteins migrate based on their size and charge. Smaller proteins travel faster and further than larger ones. Monitor the voltage throughout the run. An excessive voltage can lead to heat buildup, potentially distorting results. Aim for even migration for clear separation.
Liquid buffer systems also play a pivotal role in electrophoresis. They maintain pH and conductivity. However, choosing the wrong buffer can lead to unexpected issues with protein migration. Buffer composition must be optimal for the specific proteins being analyzed. It’s vital to experiment and adjust conditions if results are unsatisfactory. Always assess your results critically for better optimization in future experiments.
Protein Concentration in Different Samples
This bar chart represents the protein concentration values in micrograms per milliliter (µg/mL) for five different samples, demonstrating the variations in protein levels that can be analyzed using polyacrylamide gel electrophoresis.
Visualizing and Analyzing Separated Proteins auf der Gel
Polyacrylamide gel electrophoresis (PAGE) is a powerful tool for analyzing proteins after separation. This technique enables researchers to visualize proteins based on their size and charge. It's crucial to understand that the visualization process can influence interpretation. For instance, staining methods can vary significantly in sensitivity, leading to different insights.
Recent studies indicate that optimizing gel composition can enhance visual clarity. Data reports suggest that a concentration range of 8–15% is optimal for most proteins. However, using higher concentrations can lead to smaller band distortions. Careful calibration of the gel is essential. Mistakes here can obscure vital protein bands. Some researchers may overlook the importance of background noise reduction, which can complicate data interpretation.
Additionally, analyzing separated proteins often relies on software tools. These tools allow for accurate quantification and band matching. Still, they may have limitations. For example, over-reliance on imaging software can introduce skewed results. Proper signaling between the gel and the software is paramount. Researchers must also validate findings with additional methods. This multifaceted approach helps ensure accuracy in protein analysis.